> ## Documentation Index
> Fetch the complete documentation index at: https://docs.fynn.eu/llms.txt
> Use this file to discover all available pages before exploring further.
# Users & Permissions
> Learn how to invite users to your organization, manage their permissions, and lock or unlock them.
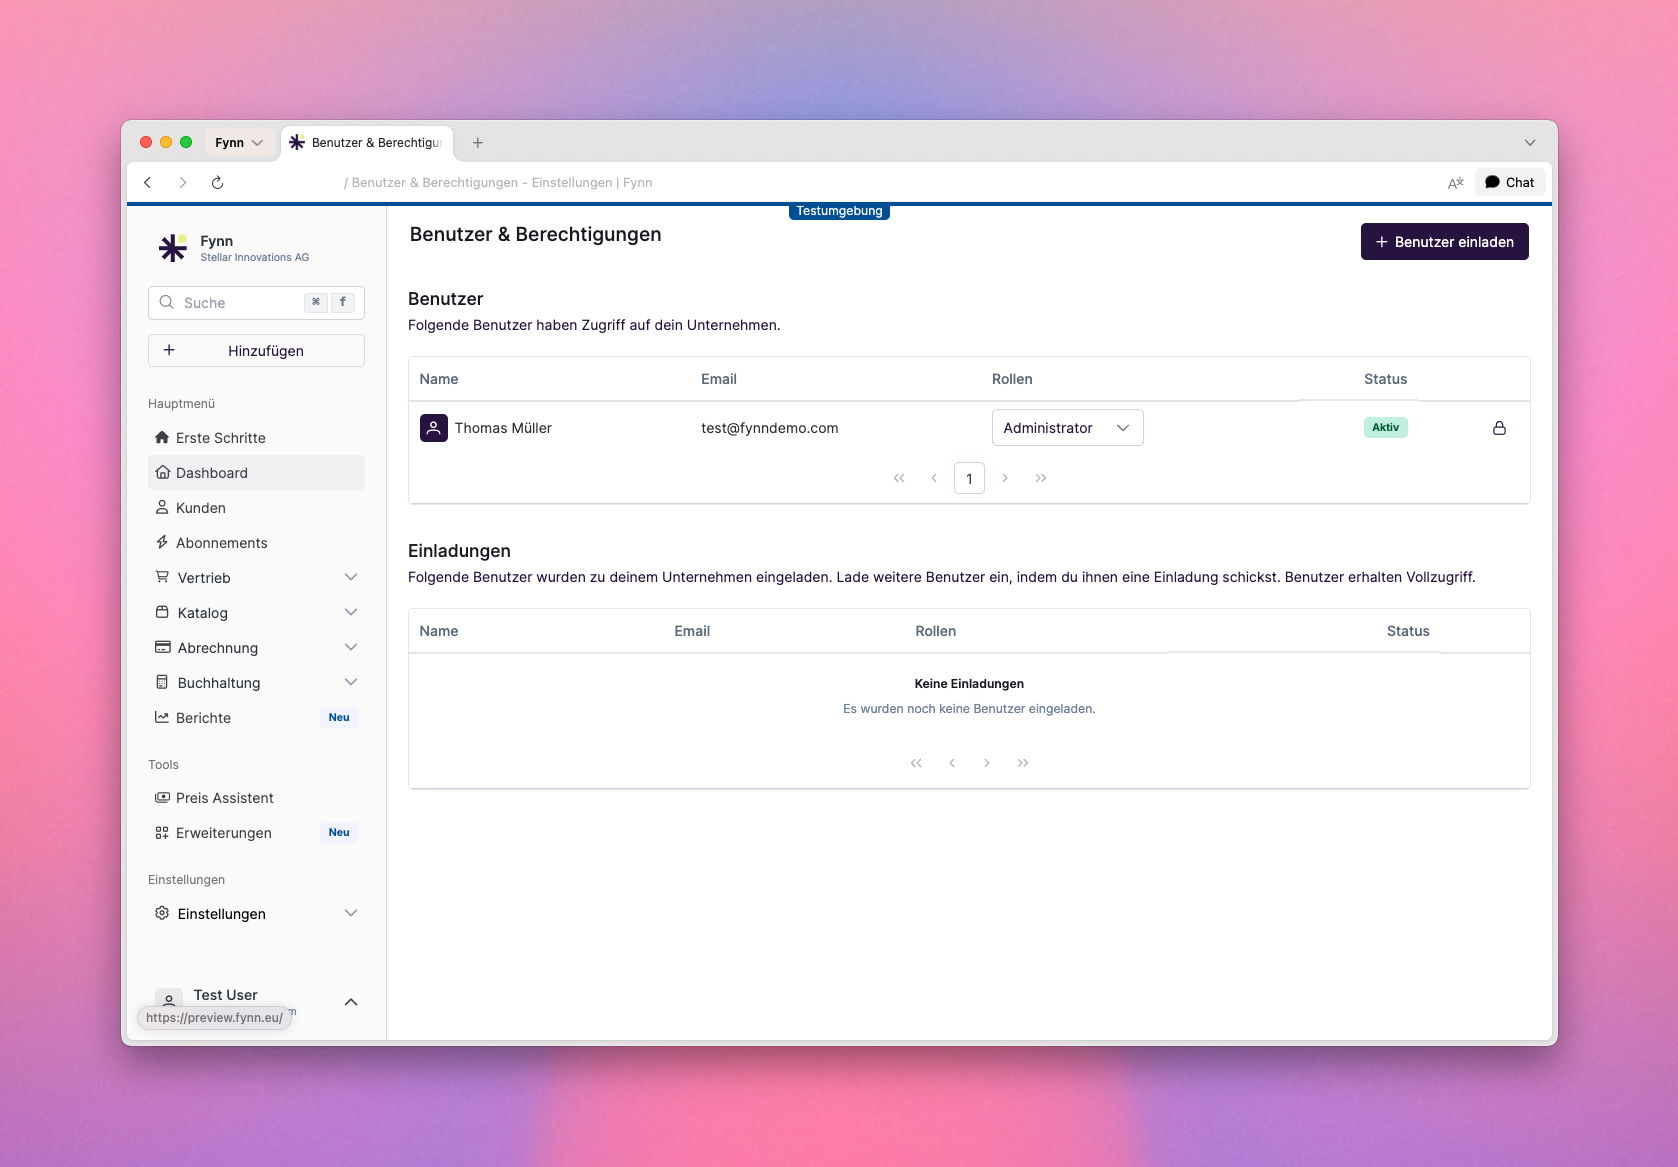
## Invite Users
You can invite an unlimited number of users to your organization.
To invite users to your organization, follow these steps:
Go to [Settings > Users](https://app.fynn.eu/settings/users)
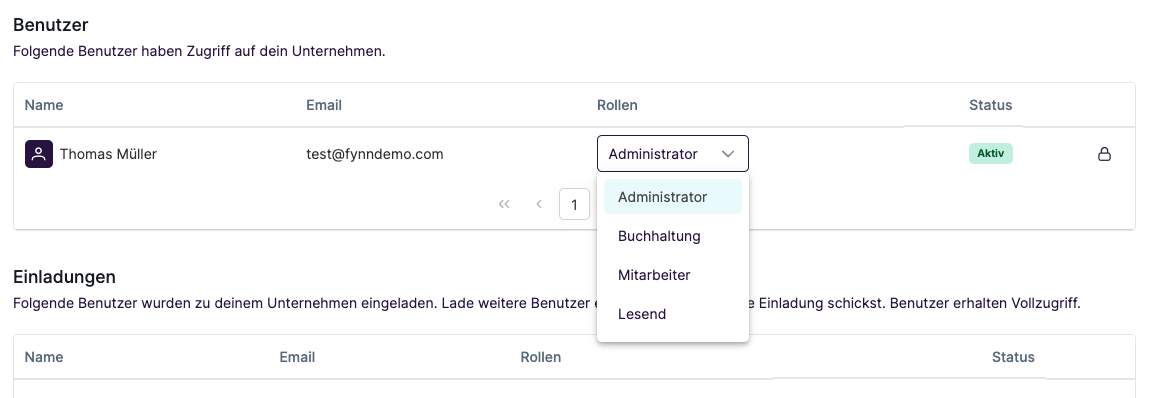
 Choose between the roles `Administrator`, `Employee`, and `Read-only`.
* `Administrator`: Has read and write access to all features and resources, as well as to the settings.
* `Employee`: Has read and write access to all features and resources, but no access to the settings.
* `Read-only`: Has only read access to all resources.
The user will then receive an email invitation to register with your organization using a password.
## Remove User Invitation
To remove a user invitation from your organization, follow these steps:
Go to [Settings > Users](https://app.fynn.eu/settings/users)
The action must then be confirmed.
The invitation will be removed from your organization and the user will no longer be able to register.
## Permissions
Fynn comes with three default roles that you can use for your users. These roles are:
| Role | Description |
| ------------- | -------------------------------------------------------------------------------------------------------------------------------------------------------------------------------------------------------------------------------------------------------------------------------------------------------------- |
| Administrator | Has read and write access to all features and resources, as well as to the settings. |
| Accounting | Has read and write access to the following areas:
Choose between the roles `Administrator`, `Employee`, and `Read-only`.
* `Administrator`: Has read and write access to all features and resources, as well as to the settings.
* `Employee`: Has read and write access to all features and resources, but no access to the settings.
* `Read-only`: Has only read access to all resources.
The user will then receive an email invitation to register with your organization using a password.
## Remove User Invitation
To remove a user invitation from your organization, follow these steps:
Go to [Settings > Users](https://app.fynn.eu/settings/users)
The action must then be confirmed.
The invitation will be removed from your organization and the user will no longer be able to register.
## Permissions
Fynn comes with three default roles that you can use for your users. These roles are:
| Role | Description |
| ------------- | -------------------------------------------------------------------------------------------------------------------------------------------------------------------------------------------------------------------------------------------------------------------------------------------------------------- |
| Administrator | Has read and write access to all features and resources, as well as to the settings. |
| Accounting | Has read and write access to the following areas:
\* Customers
\* Partners
\* Products
\* Price updates
\* Subscription feature assignment
\* Subscriptions
\* Shopping cart
\* All invoicing
\* All accounting areas
\* Dunning
\* Accounting settings |
| User | Has read and write access to the following areas:
\* Customers
\* Partners
\* Products
\* Subscription feature assignment
\* Subscriptions
\* Shopping cart
\* Quotes
\* Invoices
\* Payments
\* Reports |
The roles can be individually customized for each user.
Go to [Settings > Users](https://app.fynn.eu/settings/users)
 The role is now changed immediately and the user will have the corresponding permissions after the next navigation in the application.
Use the [Update Role](/api-reference/account/update-account-role) endpoint for this.
```bash theme={null}
PUT /accounts/{accountId}/role
```
You cannot change the permissions for your own account. If you want to change the permissions for your account, please contact another administrator of your organization.
## Lock User
If a user should no longer have access to the organization, the user can be locked.
Go to [Settings > Users](https://app.fynn.eu/settings/users)
The user will be locked and will no longer be able to access the data.
In the audit logs, the user will still be referenced to document the history of changes.
The user will not receive a notification about being locked.
Use the [Lock User](/api-reference/account/deactivate-account) endpoint for this.
```bash theme={null}
PUT /accounts/{accountId}/deactivate
```
## Unlock User
If a user should have access to the organization again, the user can be unlocked.
Go to [Settings > Users](https://app.fynn.eu/settings/users)
The user will be unlocked and will be able to access the data again.
The user will not receive a notification about being unlocked.
Use the [Unlock User](/api-reference/account/reactivate-account) endpoint for this.
```bash theme={null}
PUT /accounts/{accountId}/reactivate
```
## Create Roles
Fynn offers the ability to create custom roles to define specific permissions for different user groups.
Go to [Settings > Users](https://app.fynn.eu/settings/users)
The role is now changed immediately and the user will have the corresponding permissions after the next navigation in the application.
Use the [Update Role](/api-reference/account/update-account-role) endpoint for this.
```bash theme={null}
PUT /accounts/{accountId}/role
```
You cannot change the permissions for your own account. If you want to change the permissions for your account, please contact another administrator of your organization.
## Lock User
If a user should no longer have access to the organization, the user can be locked.
Go to [Settings > Users](https://app.fynn.eu/settings/users)
The user will be locked and will no longer be able to access the data.
In the audit logs, the user will still be referenced to document the history of changes.
The user will not receive a notification about being locked.
Use the [Lock User](/api-reference/account/deactivate-account) endpoint for this.
```bash theme={null}
PUT /accounts/{accountId}/deactivate
```
## Unlock User
If a user should have access to the organization again, the user can be unlocked.
Go to [Settings > Users](https://app.fynn.eu/settings/users)
The user will be unlocked and will be able to access the data again.
The user will not receive a notification about being unlocked.
Use the [Unlock User](/api-reference/account/reactivate-account) endpoint for this.
```bash theme={null}
PUT /accounts/{accountId}/reactivate
```
## Create Roles
Fynn offers the ability to create custom roles to define specific permissions for different user groups.
Go to [Settings > Users](https://app.fynn.eu/settings/users)
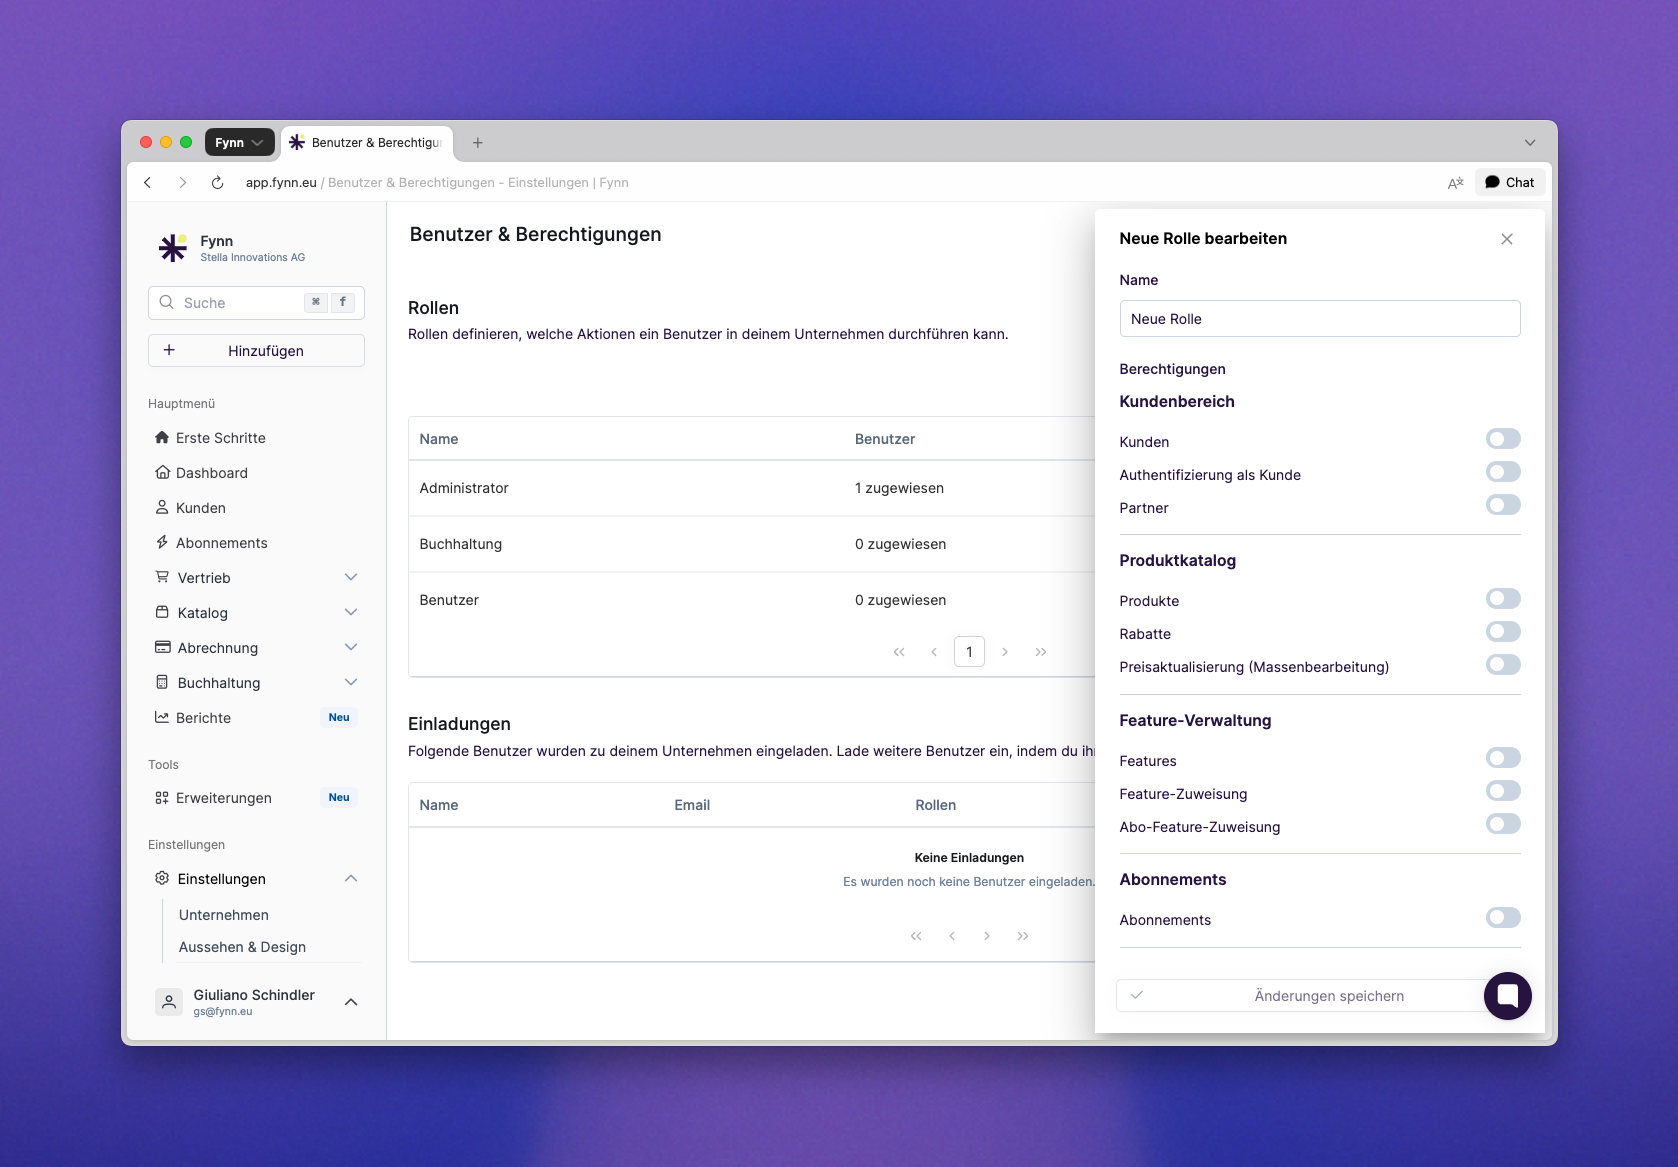 Choose a name for the role, check all permissions for this role, and click "Add Role".
The new role can now be assigned to an existing or new user.
## Edit Roles
Roles cannot currently be edited. If you want to edit a role, please contact support.
Choose a name for the role, check all permissions for this role, and click "Add Role".
The new role can now be assigned to an existing or new user.
## Edit Roles
Roles cannot currently be edited. If you want to edit a role, please contact support.