Benefits
- Workflow automation: Create complex workflows that connect and automate various services to reduce manual tasks and increase efficiency.
- Flexible integrations: Use the Fynn API via n8n to connect Fynn with hundreds of other tools and services, including CRM systems, email marketing tools, project management software, and more.
- Real-time synchronization: Automate the synchronization of data between Fynn and other systems in real-time to ensure that all systems are always up to date.
- Open Source: n8n is open source and can be self-hosted, giving you full control over your data and workflows.
- User-friendly interface: n8n offers a visual, user-friendly interface that allows even non-developers to create complex automations.
- Dedicated Fynn Node: Use the official Fynn community node for easy and seamless integration.
Connect n8n with Fynn
We offer a special community node for n8n that significantly simplifies integration with Fynn:@fynnplatform/n8n-nodes-fynn
1
Create or log in to n8n account
Create an n8n account at n8n.io or log in with your existing account. You can also self-host n8n if you are using the open-source version.
2
Install Fynn Community Node
Install the Fynn community node in n8n:
- Open the n8n settings
- Navigate to “Community Nodes”
- Click on “Install a community node”
- Enter the following name:
@fynnplatform/n8n-nodes-fynn - Click “Install”
Alternatively, you can also install the node via the command line if you self-host n8n:
npm install @fynnplatform/n8n-nodes-fynn3
Create new workflow
Create a new workflow in n8n by clicking “New Workflow”.
4
Add Fynn Node
Add the “Fynn” node to your workflow. You can find it under “Community Nodes” > “Fynn” in the node list.
5
Configure Fynn Credentials
Configure the Fynn connection:
- Click on “Credential to connect with” and select “Create New Credential”
- Enter a name for the credentials (e.g., “Fynn Production”)
- Enter your API key
You can find your API key in Fynn under “Settings” > “API Keys”. Create a new API key if you don’t have one yet. For more information, see Create API Key.
6
Configure Node
Select the desired operation (e.g., “Get Customer”, “Create Invoice”, etc.) and configure the corresponding parameters.
7
Test and activate workflow
Test your workflow by running it manually. Once everything works, you can activate the workflow so that it runs automatically.
Alternative: Use HTTP Request Node
If you don’t want to use the community node or need advanced customizations, you can also use the standard “HTTP Request” node:1
Add HTTP Request Node
Add an “HTTP Request” node to your workflow. This node allows you to send API requests to Fynn.
2
Configure Fynn API
Configure the HTTP Request node with the following information:
- Method: Select the appropriate HTTP method (GET, POST, PUT, DELETE) based on the desired action
- URL: Use the Fynn API URL:
https://coreapi.io/v1/[endpoint] - Authentication: Select “Generic Credential Type” and add your API key as a header:
- Name:
Authorization - Value:
Bearer [YOUR_API_KEY]
- Name:
You can find your API key in Fynn under “Settings” > “API Keys”. Create a new API key if you don’t have one yet. For more information, see Create API Key.
Example Workflows with n8n
- Create new invoice: Automate the creation of invoices based on certain events or data from other systems.
- Customer synchronization: Synchronize customer data between Fynn and other systems such as CRM or email marketing tools.
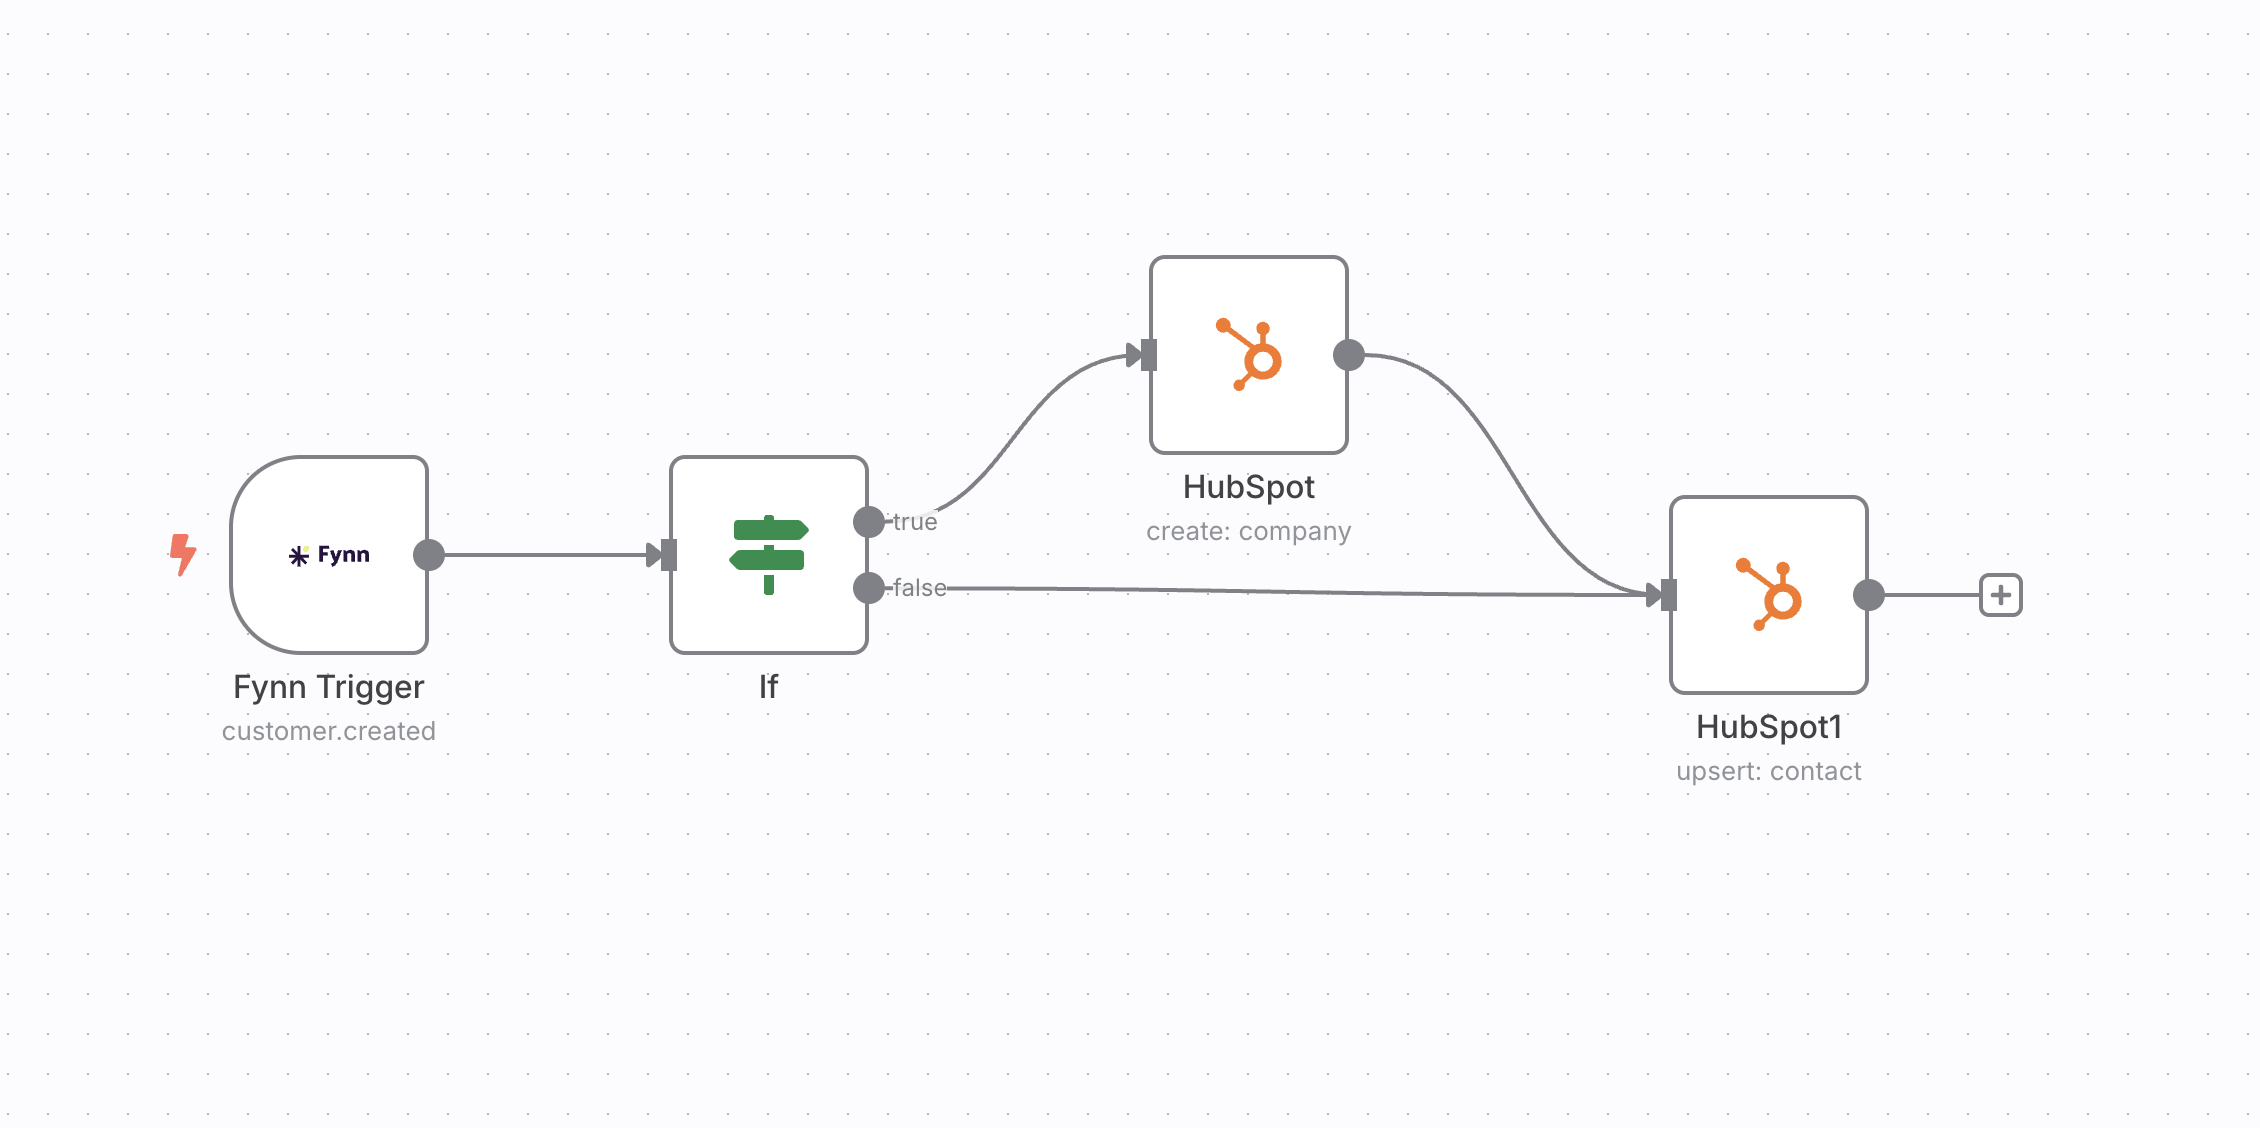
- Webhook processing: Receive webhooks from Fynn and process them to trigger actions in other systems.
- Reports and analytics: Create automatic reports by retrieving data from Fynn and storing it in other tools like Google Sheets or Notion.
Create API Key
To connect n8n with Fynn, you need an API key. Here’s how to create one:1
Open settings
Navigate in Fynn to “Settings” > “API Keys”.
2
Create new API key
Click ”+ Create API Key” and enter a name for the API key (e.g., “n8n Integration”).
3
Copy API key
After creation, the API key is displayed once. Copy it immediately and store it securely, as it cannot be displayed again later.