Create Customer
Create a new customer to create subscriptions and invoices.- Using Web App
- Using API
- Import
1
Open Create Customer Form
There are several ways to open the create customer form.The quickest way is to click on the plus icon at the top left and then select “Customer”.
Alternatively, you can simply use 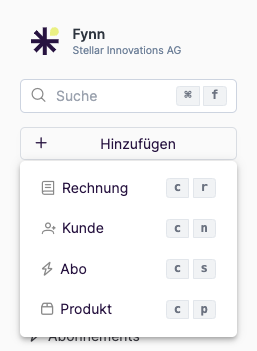
c n as a keyboard shortcut.2
Fill in Customer Details
Fill in the customer details. Depending on the customer type (individual or company), different fields are required.
If you have activated the DATEV integration, you can enter the DATEV debtor number here or have it automatically generated based on the number range.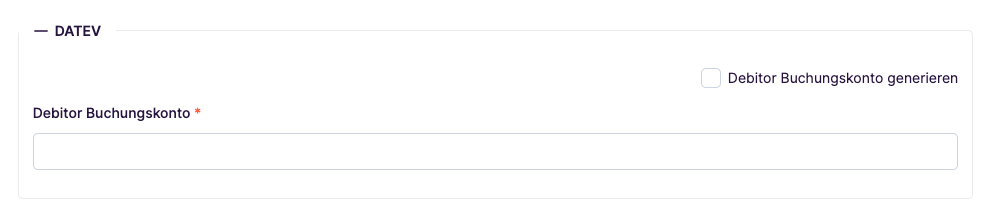
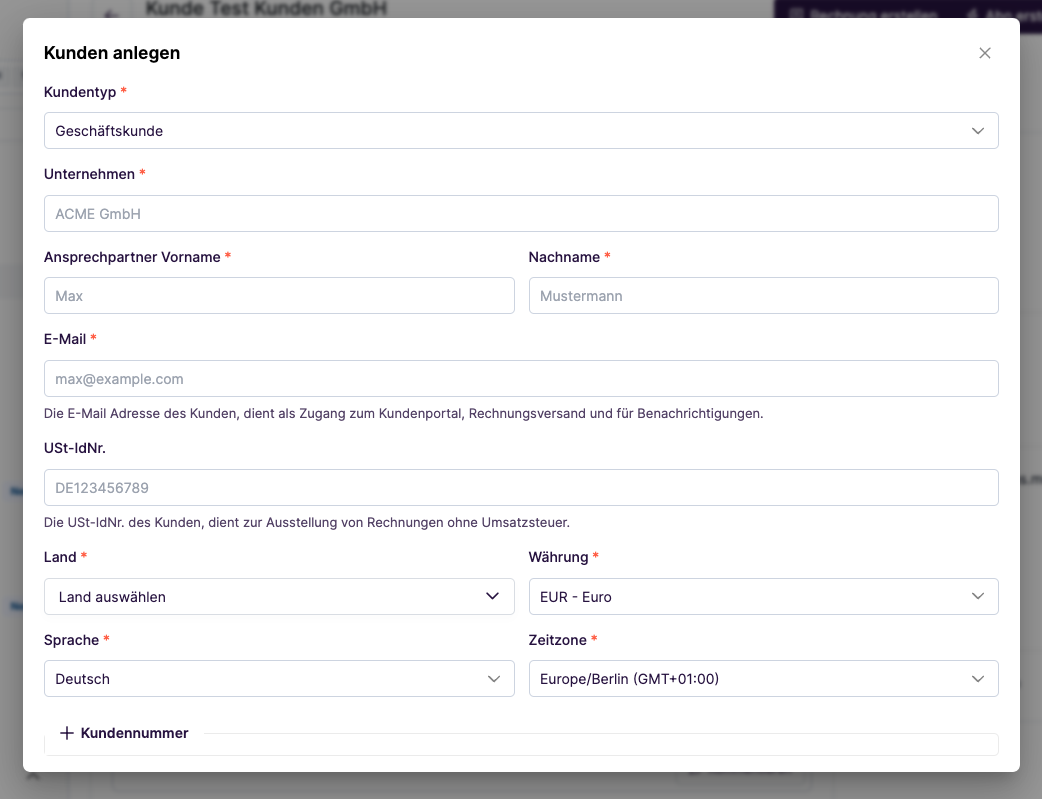
Automatic language detection: The customer language is automatically suggested based on the selected country.
Customers from DACH countries (DE, AT, CH) default to German, all others to English.
The language determines which language is used for notifications and invoices.
You can always override the suggested language manually.
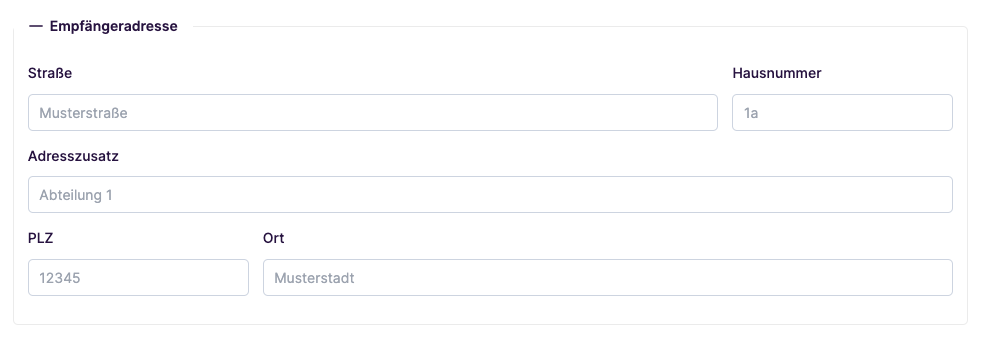
Recipient Address
Recipient Address
Different Billing Information
Different Billing Information
In some cases, it may be necessary for the billing email address to differ from the recipient address.In this case, you can fill in the different billing information.
DATEV
DATEV
The DATEV integration is available as an add-on. Contact us if you would like to activate the DATEV integration.
3
Customer Successfully Created
The customer has been successfully created. You can now create subscriptions, quotes, and invoices for the customer.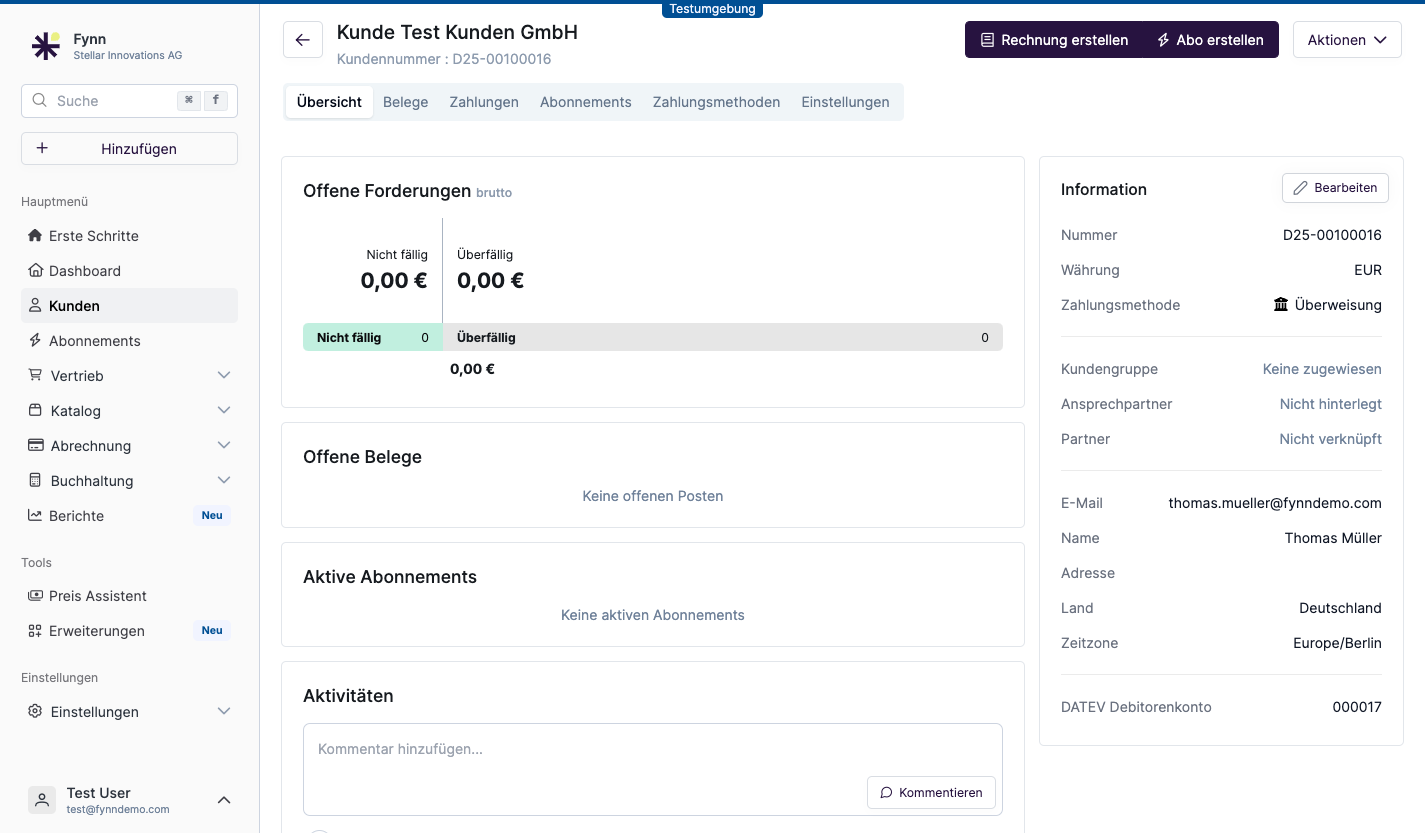
Edit Customer
After creating a customer, you can edit the customer details at any time. To change the settings for read-only customers, see Read-Only Customers.1
Open Edit Customer Form
To edit customer details, click on “Customers” in the left navigation and select the customer you want to edit.Now click on “Edit” on the right side to edit the customer details.
2
Edit Customer Details
Adjust the customer details and click “Save” to apply the changes.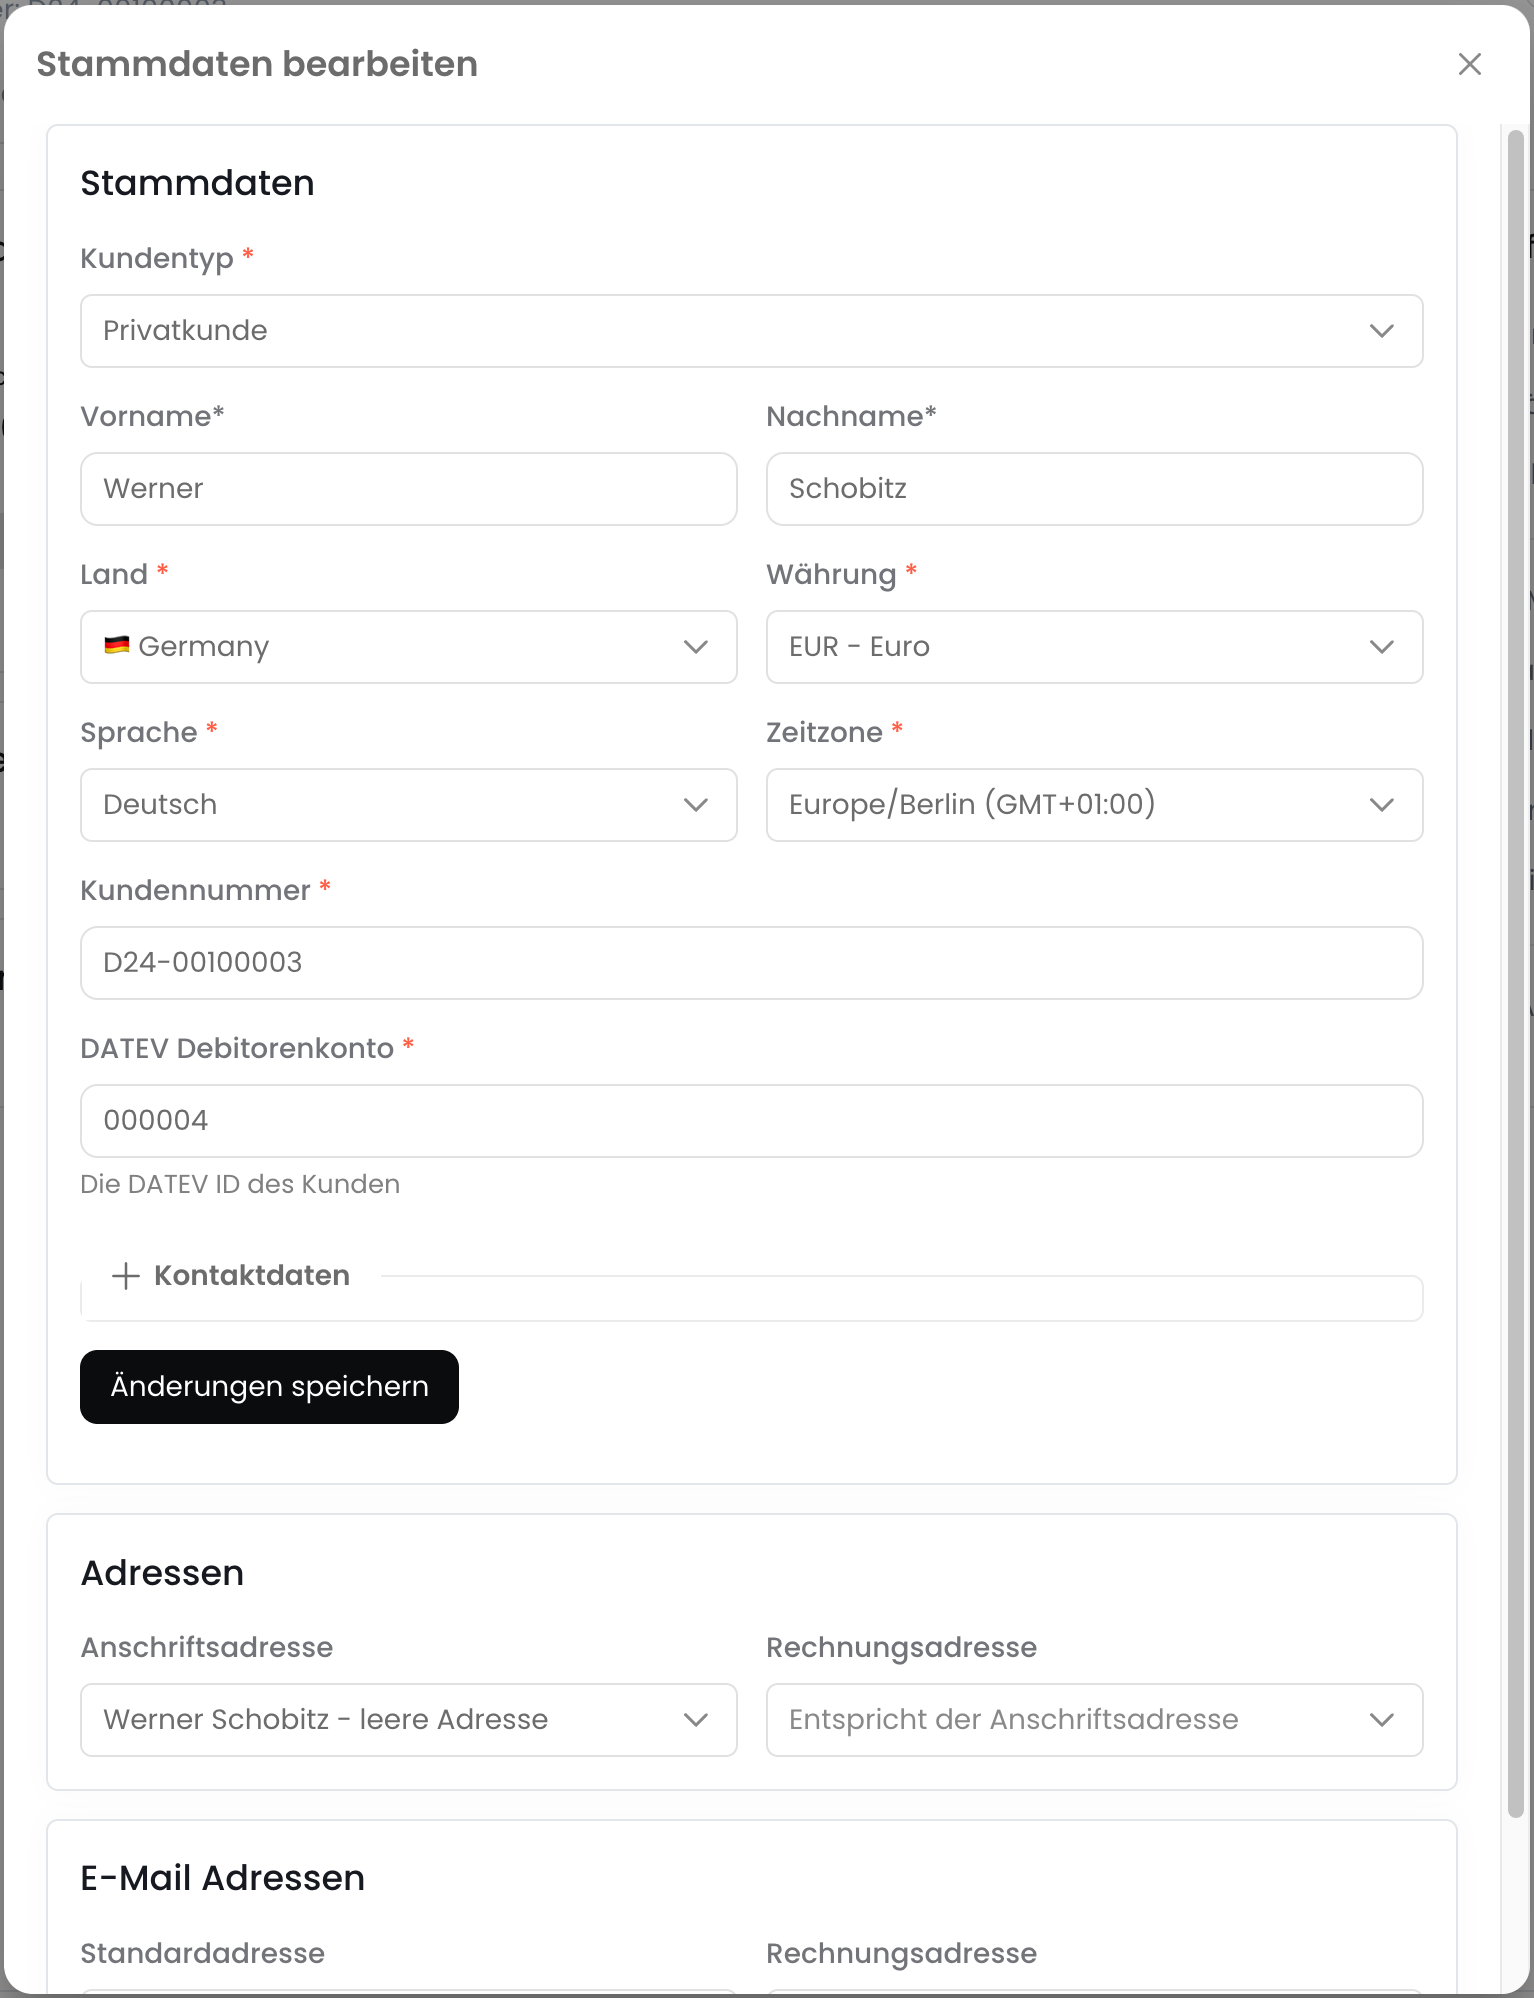
3
Edit Customer Address
To edit the customer’s address, stay in the same form and select the appropriate dropdown in the “Addresses” section.Next to the address, you can edit the address using the “Pencil” icon.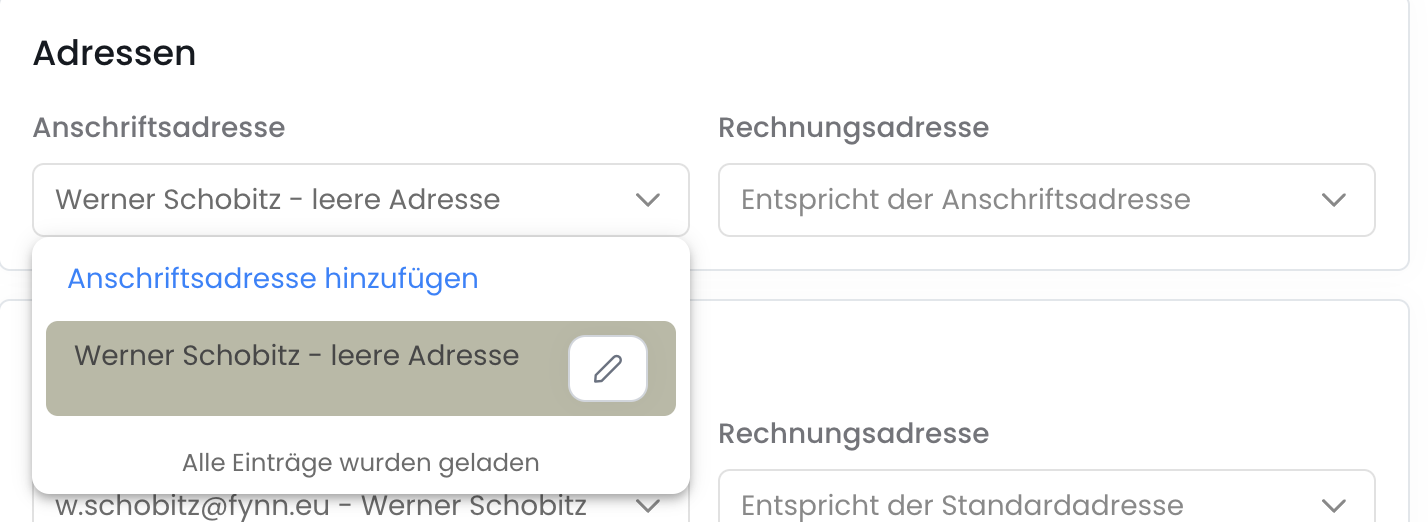
When changing the address, the address will also be updated for existing subscriptions if it was selected on the subscription or if the default address should be used.
If you do not want this, please create a new address and explicitly select it on the subscription.
4
Customer Successfully Edited
Archive Customer
You can archive a customer to hide them in the customer overview. Archived customers can be restored at a later time.- Using Web App
- Using API
1
Archive Customer
To archive a customer, click on “Customers” in the left navigation and select the customer you want to archive.Now click on “Archive” on the right side to archive the customer.
2
Confirm Archive Customer
Confirm archiving the customer by clicking “Archive”.
Once archived, customers can be restored.
3
Customer Successfully Archived
The customer has been successfully archived and will be hidden in the customer overview.
Delete Customer
You can delete a customer when they are no longer needed. To delete a customer, the following conditions must be met:- The customer must not have any active subscriptions
- The customer must not have any invoices
- The customer must not have any completed orders
- The customer must not have any payments
- Using Web App
- Using API
1
Delete Customer
To delete a customer, click on “Customers” in the left navigation and select the customer you want to delete.Now click on “Delete” on the right side to delete the customer.
2
Confirm Delete Customer
Confirm the deletion of the customer by clicking “Delete Permanently”.
3
Customer Successfully Deleted
The customer has been successfully deleted.
Export Customers
To export customers as an Xlsx file, navigate to the customer overview and click “Export”. The export includes all customers created in your organization. The export contains the following information:- Customer master data
- Default billing address
- Default customer address
- Customer email address
- Billing email address
- Default payment method
